|
import Caver from "caver-js";
import { Spinner } from 'spin.js';
const config = {
rpcURL: 'https://api.baobab.klaytn.net:8651'
}
const cav = new Caver(config.rpcURL);
//const yttContract = new cav.klay.Contract(DEPLOYED_ABI, DEPLOYED_ADDRESS);
const App = {
auth: {
accessType: 'keystore',
keystore: '',
password: ''
},
//#region 계정 인증
start: async function () {
const walletFromSession = sessionStorage.getItem('walletInstance');
if (walletFromSession) {
try {
cav.klay.accounts.wallet.add(JSON.parse(walletFromSession));
this.changeUI(JSON.parse(walletFromSession));
} catch (e) {
sessionStorage.removeItem('walletInstance');
}
}
},
handleImport: async function () {
const fileReader = new FileReader();
fileReader.readAsText(event.target.files[0]);
fileReader.onload = (event) => {
try {
console.log("event.target.result", event.target.result);
/*
if (!this.checkValidKeystore(event.target.result)) {
$('#message').text('유효하지 않은 keystore 파일입니다.');
return;
}
*/
this.auth.keystore = event.target.result;
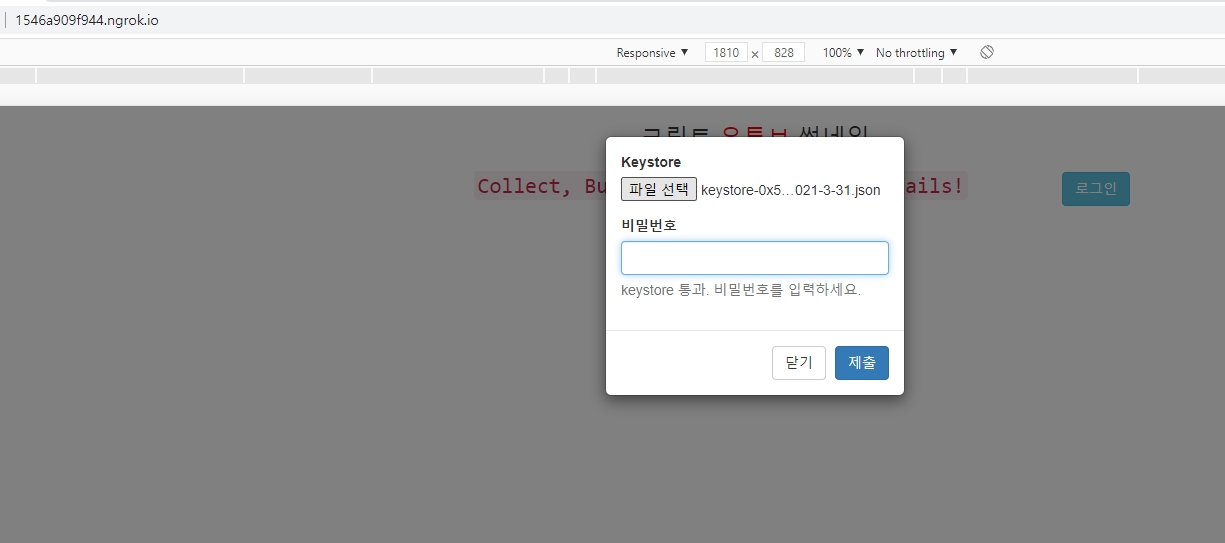
$('#message').text('keystore 통과. 비밀번호를 입력하세요.');
document.querySelector('#input-password').focus();
} catch (event) {
$('#message').text('유효하지 않은 keystore 파일입니다.');
return;
}
}
},
handlePassword: async function () {
this.auth.password = event.target.value;
},
handleLogin: async function () {
if (this.auth.accessType === 'keystore') {
try {
const privateKey = cav.klay.accounts.decrypt(this.auth.keystore, this.auth.password).privateKey;
this.integrateWallet(privateKey);
} catch (e) {
$('#message').text('비밀번호가 일치하지 않습니다.');
}
}
},
handleLogout: async function () {
this.removeWallet();
location.reload();
},
getWallet: function () {
if (cav.klay.accounts.wallet.length) {
return cav.klay.accounts.wallet[0];
}
},
checkValidKeystore: function (keystore) {
const parsedKeystore = JSON.parse(keystore);
const isValidKeystore = parsedKeystore.version &&
parsedKeystore.id &&
parsedKeystore.address &&
parsedKeystore.crypto;
return isValidKeystore;
},
integrateWallet: function (privateKey) {
const walletInstance = cav.klay.accounts.privateKeyToAccount(privateKey);
cav.klay.accounts.wallet.add(walletInstance)
sessionStorage.setItem('walletInstance', JSON.stringify(walletInstance));
this.changeUI(walletInstance);
},
reset: function () {
this.auth = {
keystore: '',
password: ''
};
},
changeUI: async function (walletInstance) {
$('#loginModal').modal('hide');
$("#login").hide();
$('#logout').show();
// ...
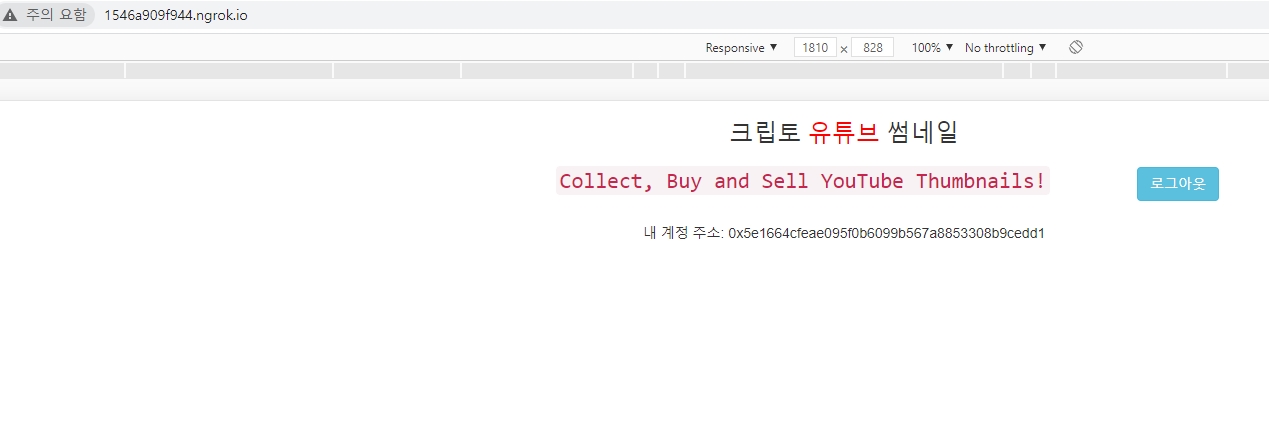
$('#address').append('<br>' + '<p>' + '내 계정 주소: ' + walletInstance.address + '</p>');
// ...
// ...
// ...
},
removeWallet: function () {
cav.klay.accounts.wallet.clear();
sessionStorage.removeItem('walletInstance');
this.reset();
},
showSpinner: function () {
var target = document.getElementById('spin');
return new Spinner(opts).spin(target);
},
//#endregion
checkTokenExists: async function () {
},
createToken: async function () {
},
mintYTT: async function (videoId, author, dateCreated, hash) {
},
displayMyTokensAndSale: async function (walletInstance) {
},
displayAllTokens: async function (walletInstance) {
},
renderMyTokens: function (tokenId, ytt, metadata) {
},
renderMyTokensSale: function (tokenId, ytt, metadata, price) {
},
renderAllTokens: function (tokenId, ytt, metadata) {
},
approve: function () {
},
cancelApproval: async function () {
},
checkApproval: async function(walletInstance) {
},
sellToken: async function (button) {
},
buyToken: async function (button) {
},
onCancelApprovalSuccess: async function (walletInstance) {
},
isTokenAlreadyCreated: async function (videoId) {
},
getERC721MetadataSchema: function (videoId, title, imgUrl) {
},
getBalanceOf: async function (address) {
},
getTokenOfOwnerByIndex: async function (address, index) {
},
getTokenUri: async function (tokenId) {
},
getYTT: async function (tokenId) {
},
getMetadata: function (tokenUri) {
},
getTotalSupply: async function () {
},
getTokenByIndex: async function (index) {
},
isApprovedForAll: async function (owner, operator) {
},
getTokenPrice: async function (tokenId) {
},
getOwnerOf: async function (tokenId) {
},
getBasicTemplate: function(template, tokenId, ytt, metadata) {
}
};
window.App = App;
window.addEventListener("load", function () {
App.start();
$("#tabs").tabs().css({'overflow': 'auto'});
});
var opts = {
lines: 10, // The number of lines to draw
length: 30, // The length of each line
width: 17, // The line thickness
radius: 45, // The radius of the inner circle
scale: 1, // Scales overall size of the spinner
corners: 1, // Corner roundness (0..1)
color: '#5bc0de', // CSS color or array of colors
fadeColor: 'transparent', // CSS color or array of colors
speed: 1, // Rounds per second
rotate: 0, // The rotation offset
animation: 'spinner-line-fade-quick', // The CSS animation name for the lines
direction: 1, // 1: clockwise, -1: counterclockwise
zIndex: 2e9, // The z-index (defaults to 2000000000)
className: 'spinner', // The CSS class to assign to the spinner
top: '50%', // Top position relative to parent
left: '50%', // Left position relative to parent
shadow: '0 0 1px transparent', // Box-shadow for the lines
position: 'absolute' // Element positioning
};
|